Carving a Cat - Part 2
- Commissions
- January 1, 1
Table of Contents
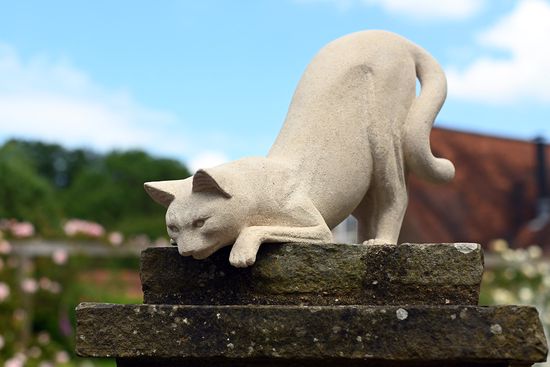
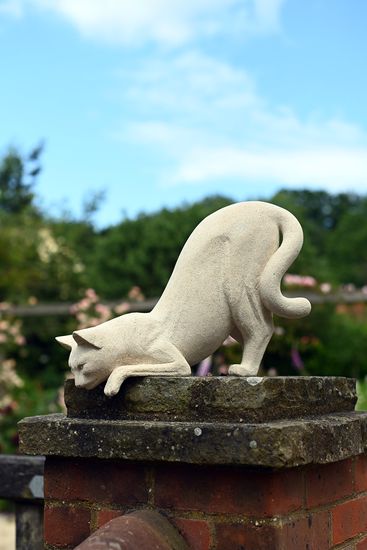
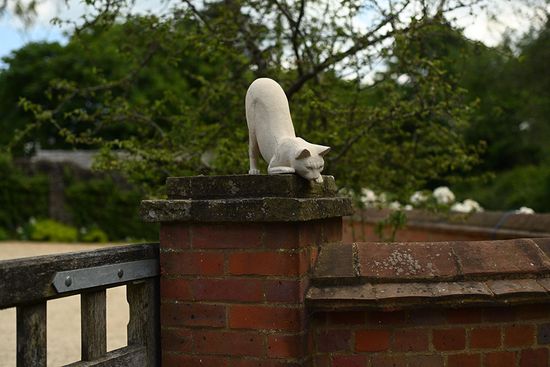
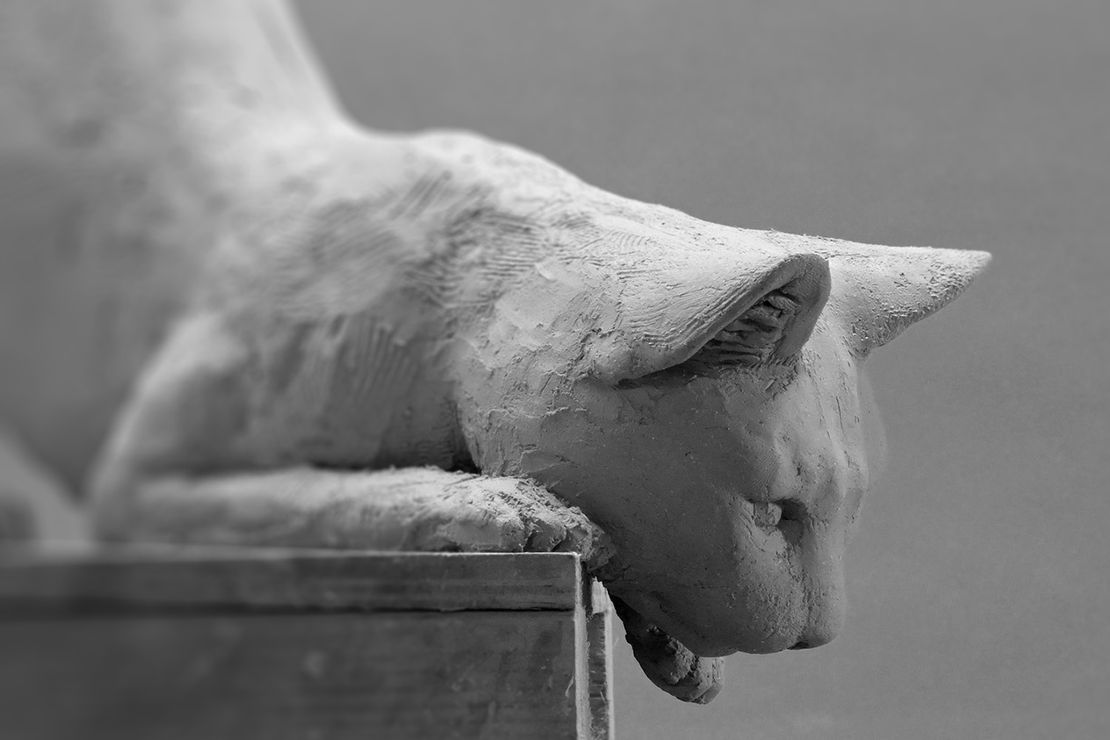
A client recently commissioned me to carve a cat. In part one I covered cat anatomy, building maquettes, and making a full size clay model. In this part I’ll show you how I translated that clay model into stone.
Setting Out
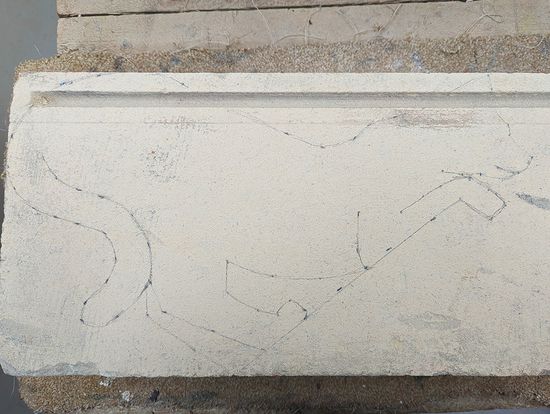
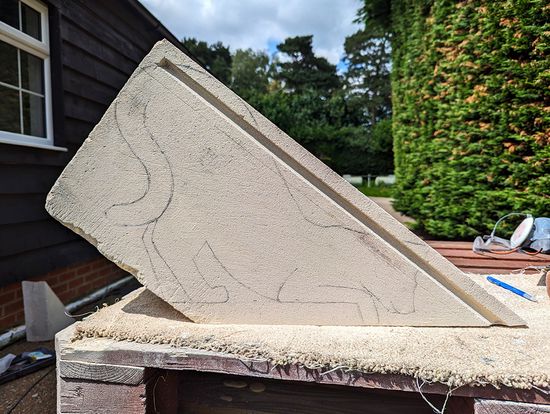
The stone chosen for this project was Bath stone, to suit the client’s home. Once I had selected a suitable block the first task was to mark the profile of the sculpture onto the face of the stone. I did this by making a drawing of the profile from the clay model on clear plastic, laying the drawing on the stone, and then piercing the plastic to mark points around the outline. Since this outline was only going to be a rough guide in the initial stages of carving it did not have to be perfect to the millimetre, but I had to be sure that all parts of the finished sculpture were within the stone.
Once I was happy with the position of the outline I cut the stone parallel with the base of the cat, allowing me to stand it upright.
Roughing Out
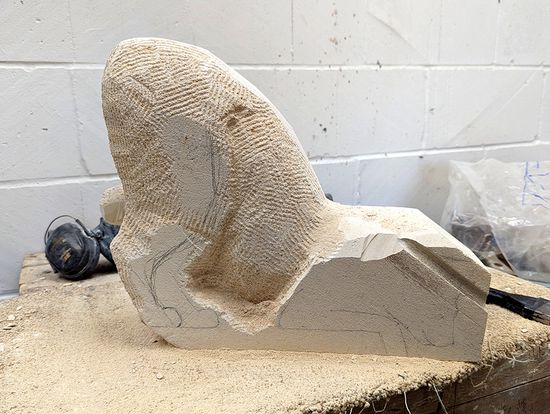
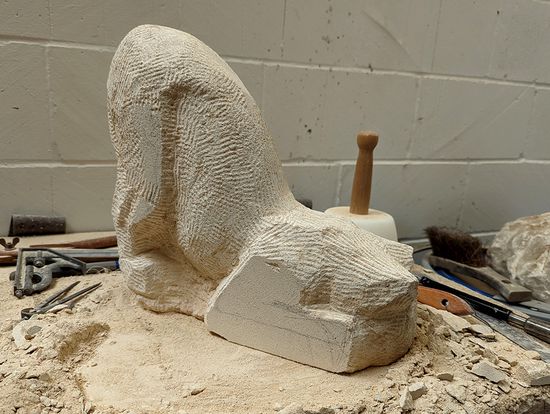
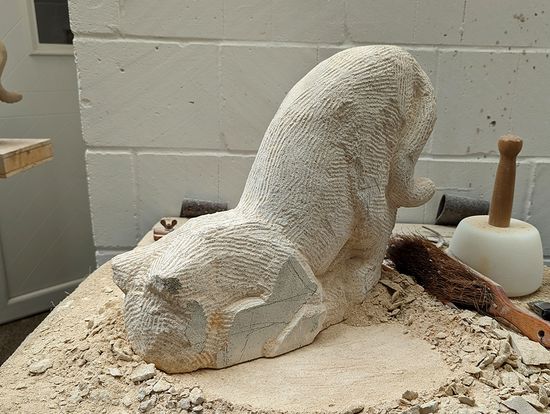
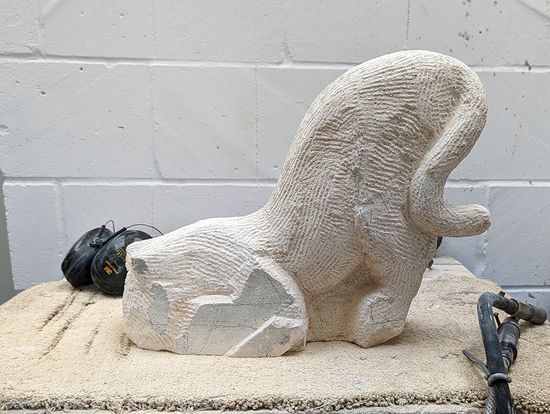
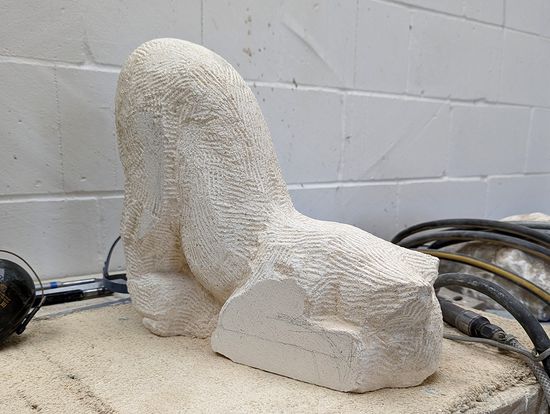
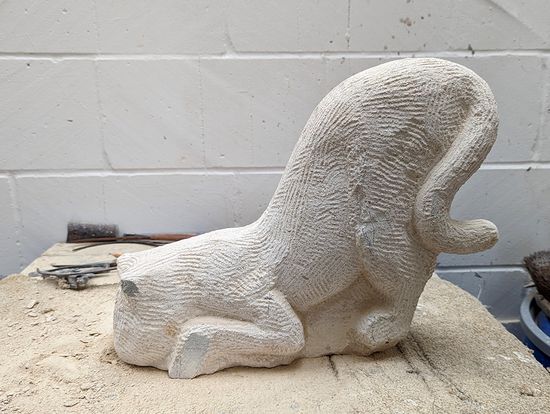
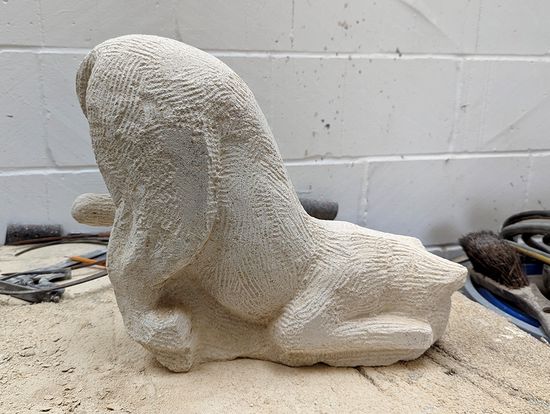
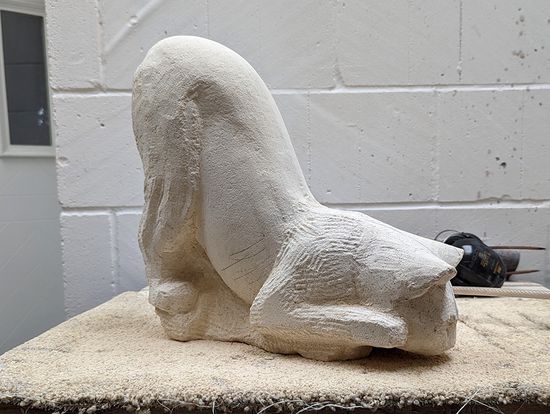
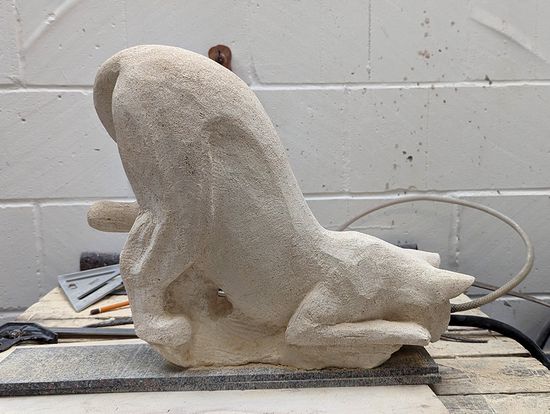
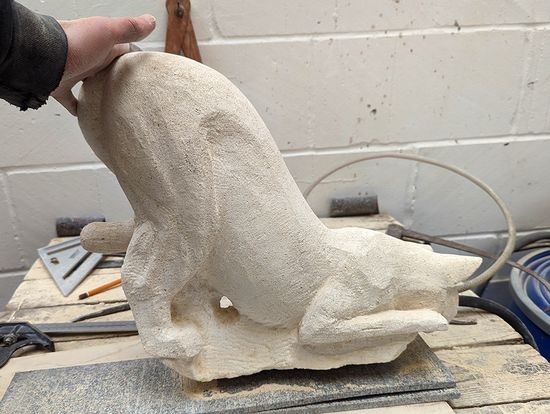
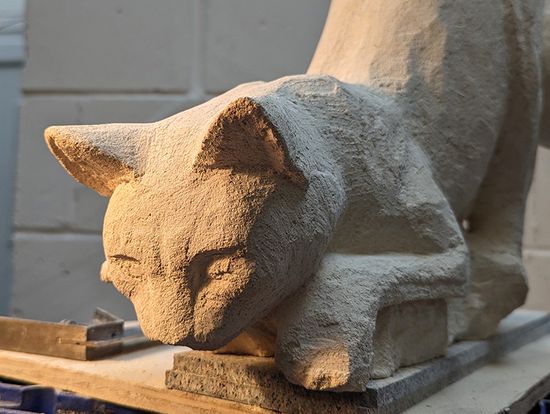
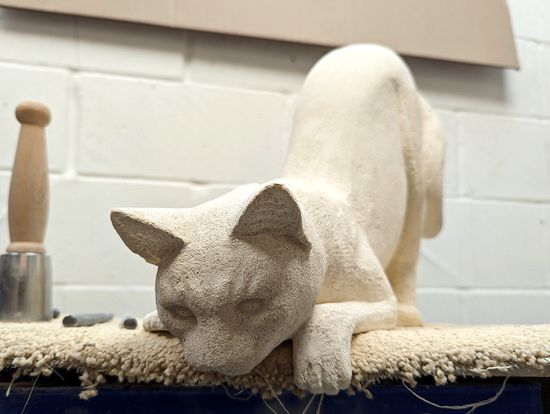
The next step was to remove waste material, being careful not to get too close to the final surface, but revealing the shape. Although at the end of this stage the sculpture still looks far from finished it is in fact the crux of the whole process, and required the most intense “looking”, comparing clay to stone, and frequent checks and re-checks with rulers, squares, and calipers. The whole structure of the piece is defined at this point, and if it’s done well everything from here is surface detail.
Adding Definition
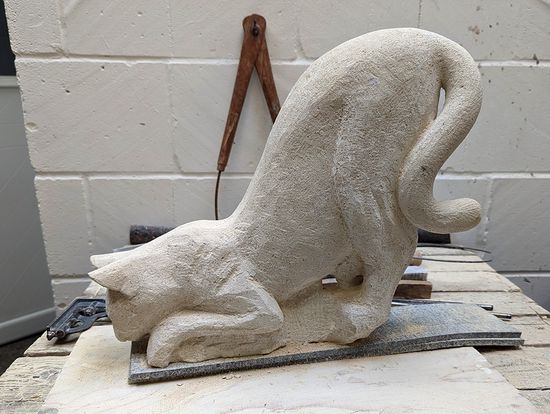
With the structure defined it was time to begin adding detail to the surface and the finer contours particularly visible in the back legs. This was a case of drawing onto the stone, carving it off, and drawing again. Much of this could be done by eye, since now the shape was clear it was easier to compare the stone and clay versions, although I did still check the position of key features.
Carving the Face
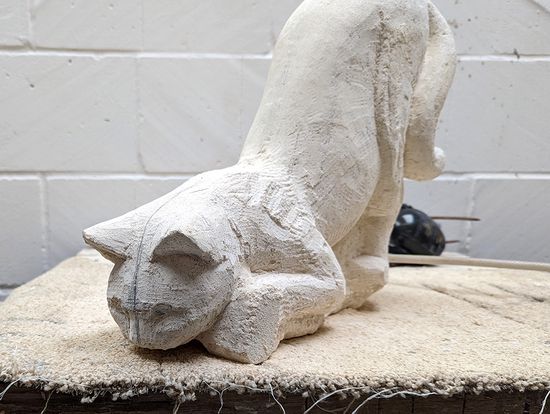
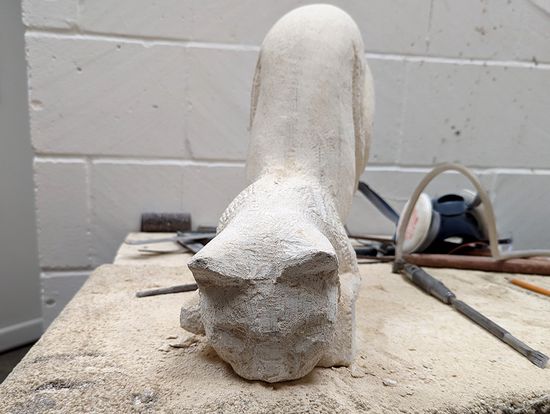
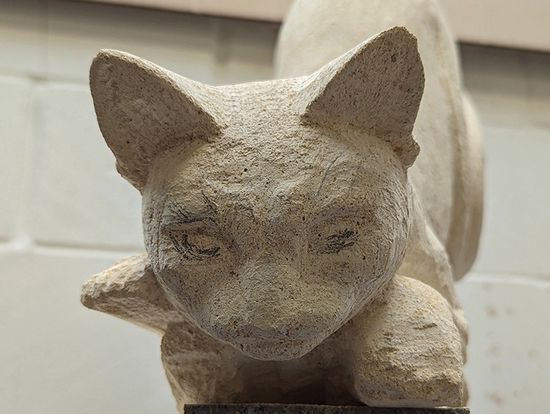
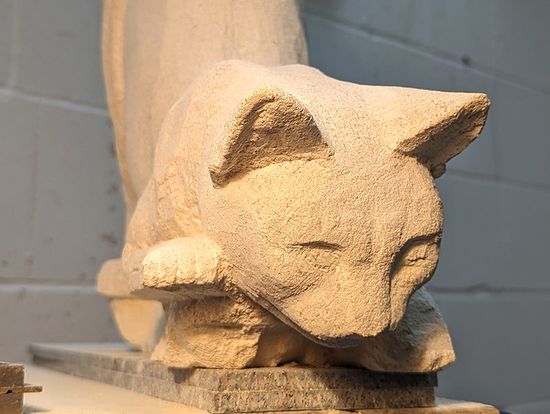
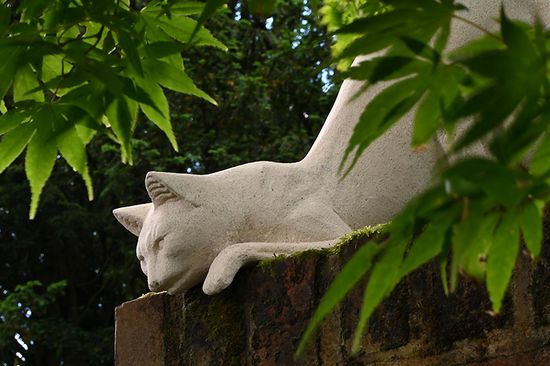
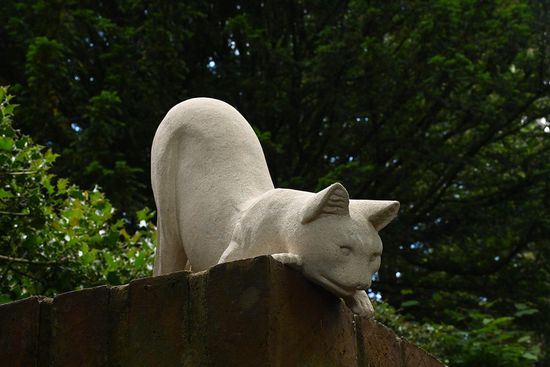
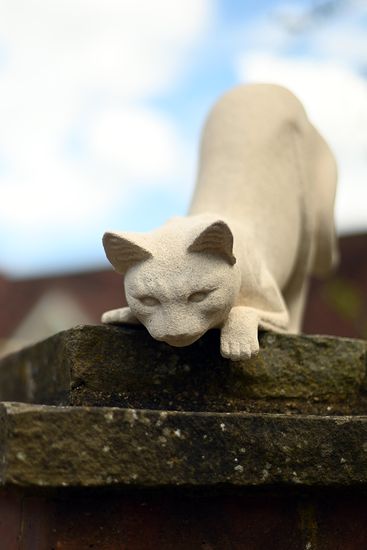
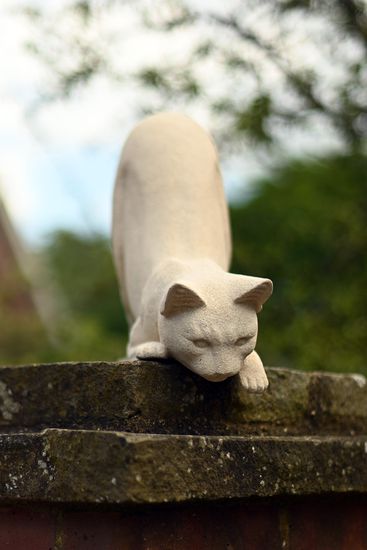
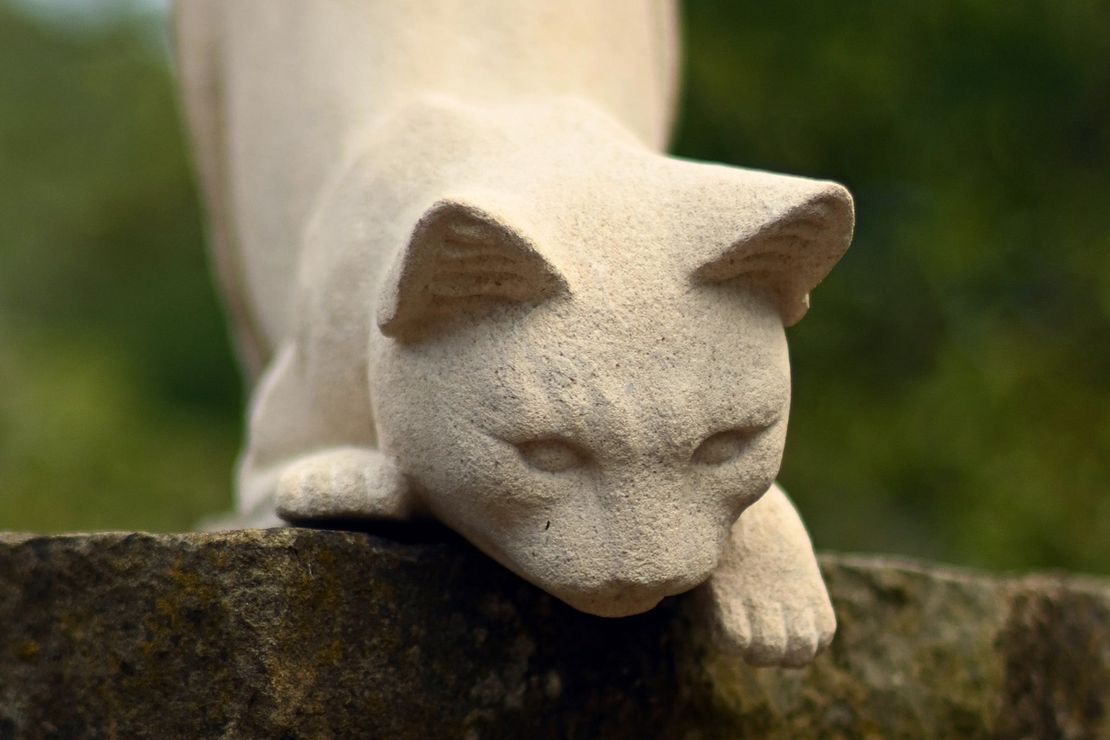
A face is always a focal point but particularly here, as the cat would eventually be installed up high above a doorway, looking down on anyone coming through. The human brain has a particularly keen eye for symmetry in faces, and using a mirror helped make sure the two sides of the face were balanced.
Finishing Touches
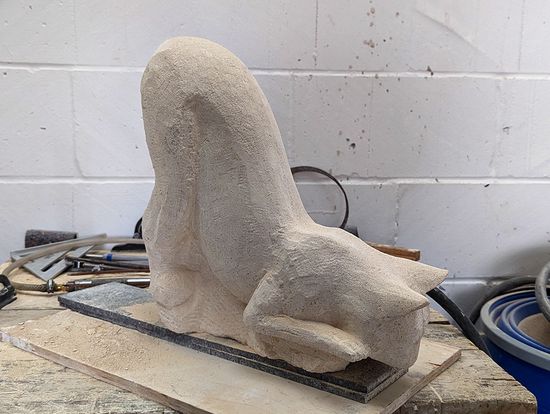
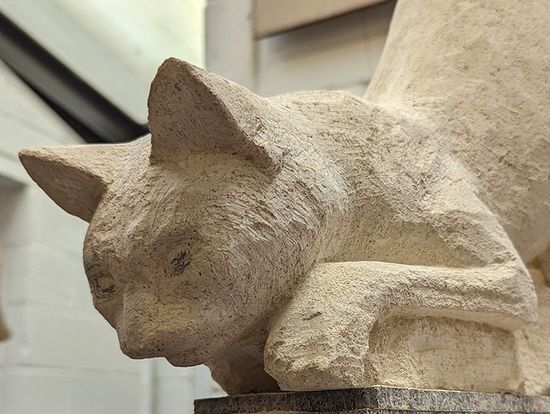
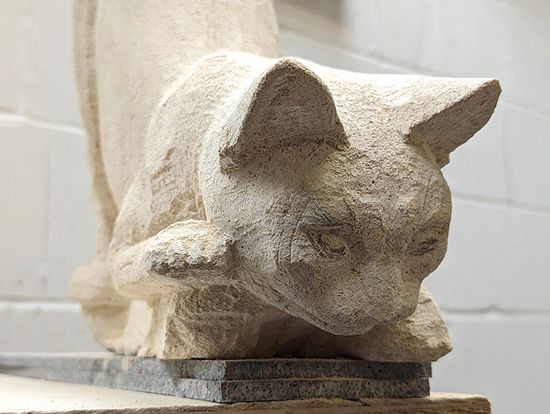
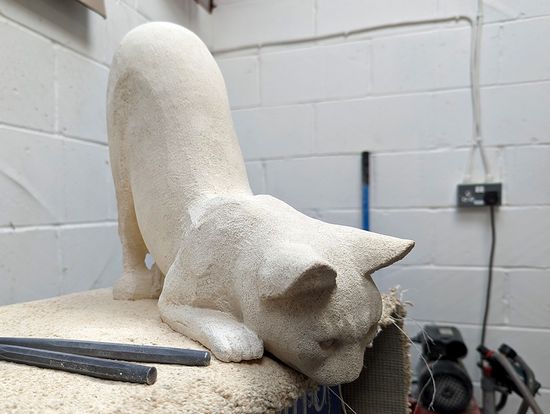
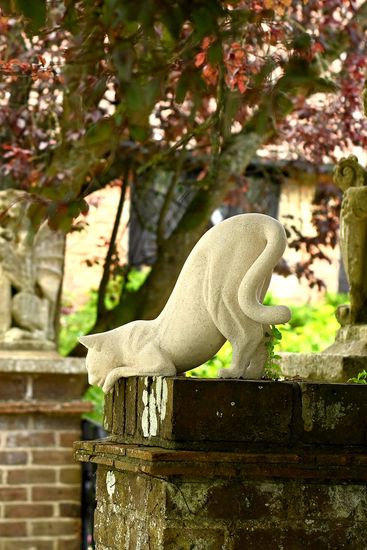
At this point all that remained was to carve the back legs. I had left the legs until last because in order to carve them I would need to separate them from each other and from the waste stone that still attached them to the body, but I had now done everything I could without taking that last step. I cut the remaining waste off the underside so the cat could finally stand on it’s own feet, and then carefully cut between the legs. Carving around these delicate back legs as they got thinner and thinner was the most nerve-wracking part of the process.
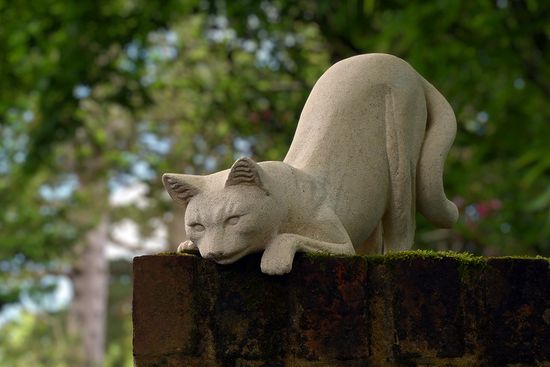
With that done and a little fettling, I was ready to wash the dust off…
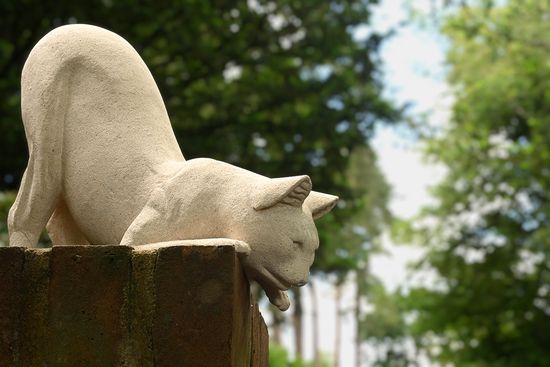
I’m very happy with the results.
