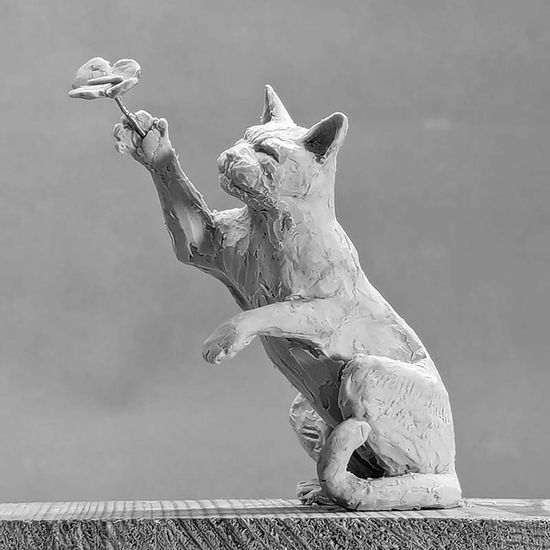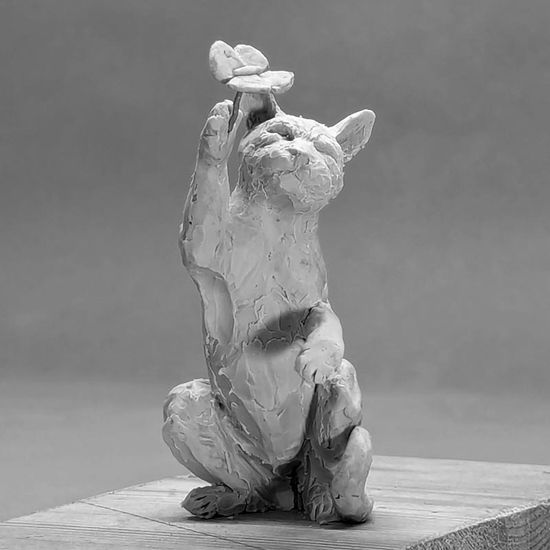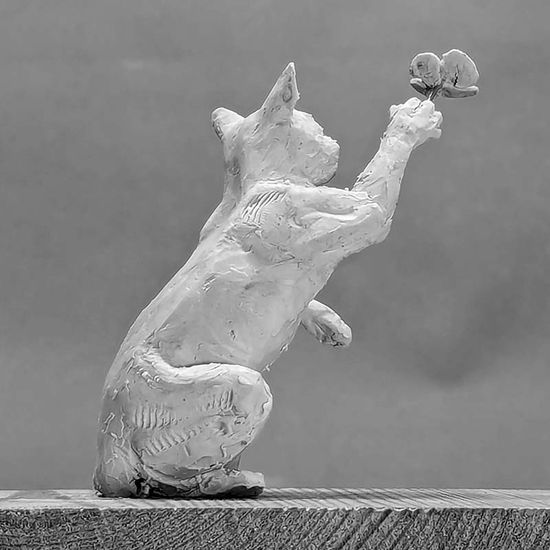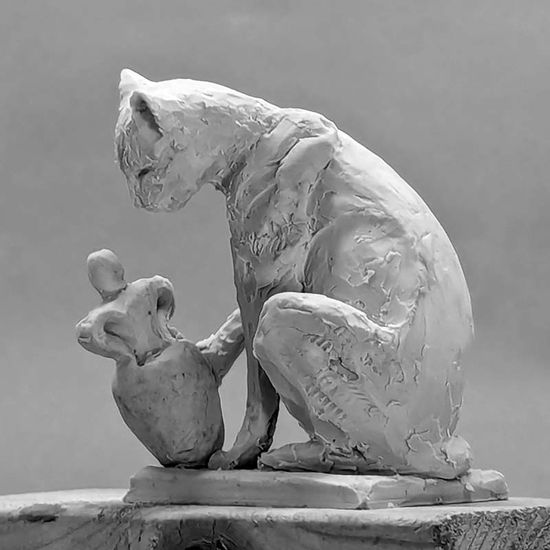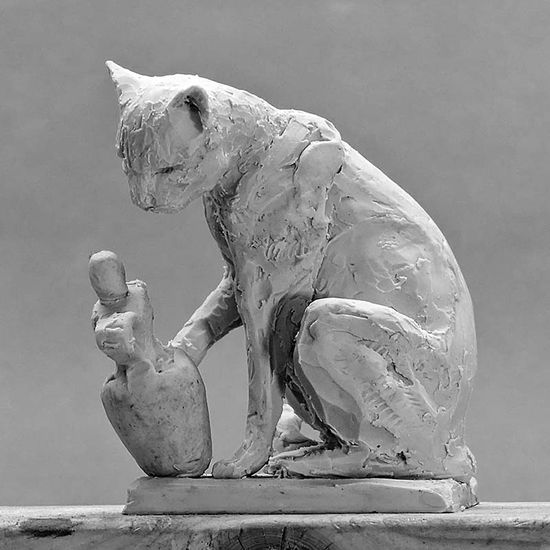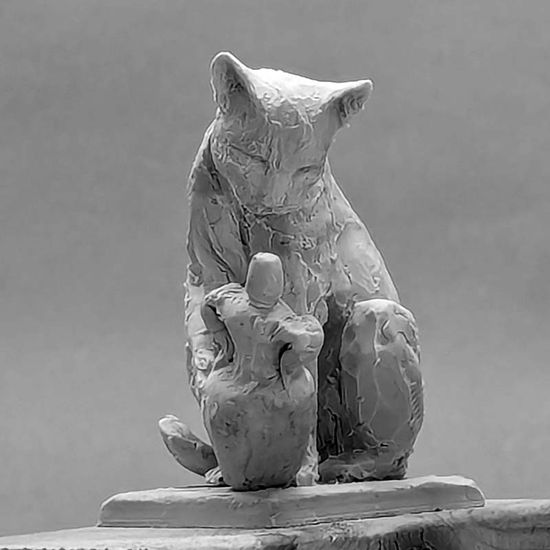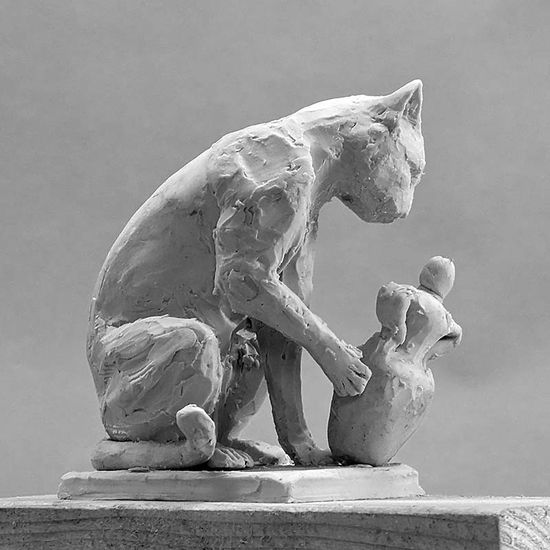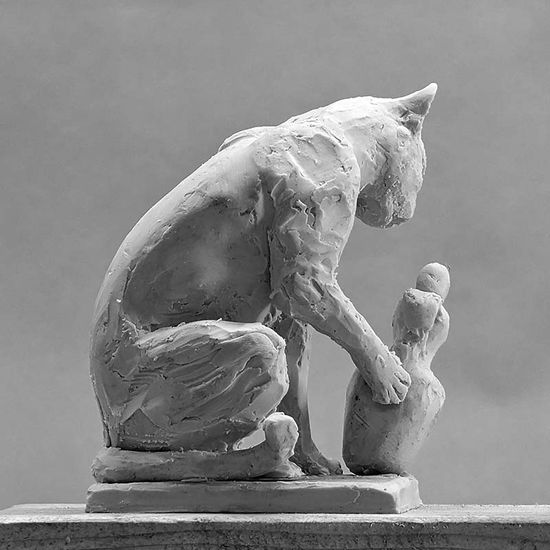
Carving a Cat - Part 1
- Commissions
- June 19, 2024
Table of Contents
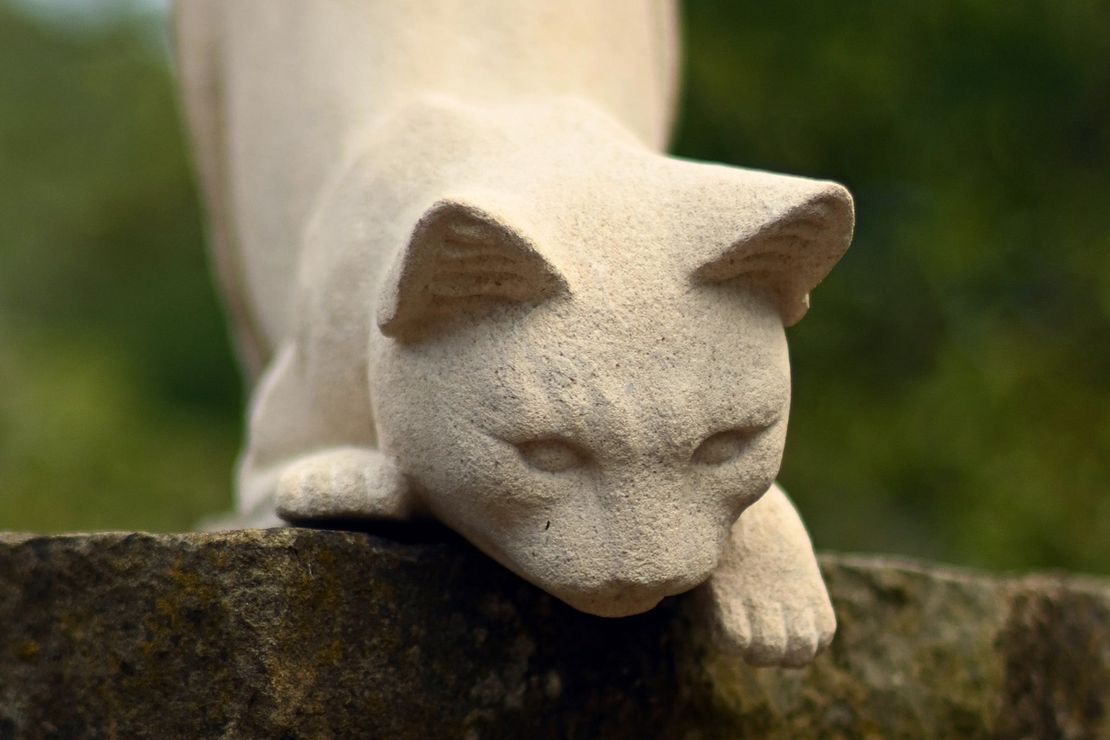
A client recently commissioned me to carve a cat. This is part 1 of a two part look at the process of conceiving and realizing an original stone sculpture.
Drawings
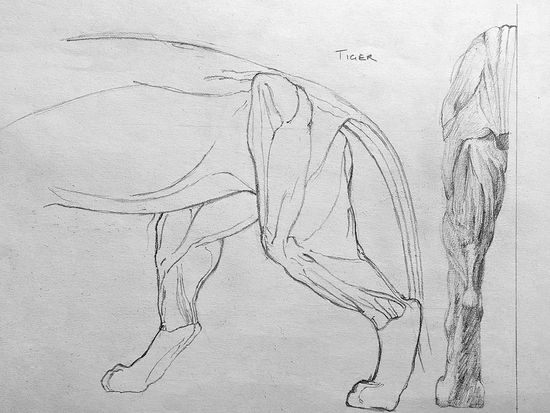
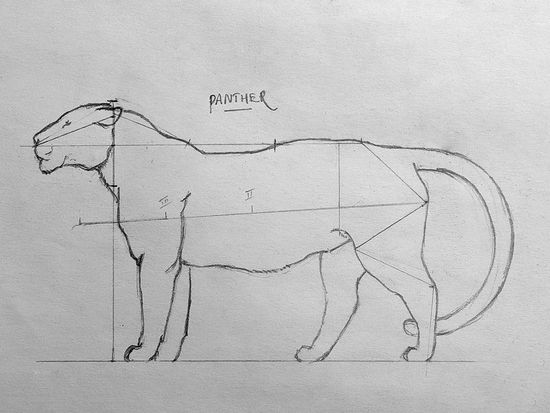
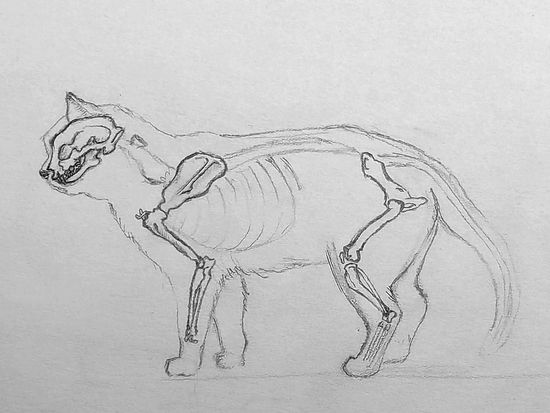
The first challenge was to learn what a cat really looks like: you think you have a pretty good idea until you sit down with a blank piece of paper and try to draw one. For reference I used a combination of house cats and various big cats, partly to gain a better grasp of the anatomy through comparison but also because the anatomy is simply easier to see on many big cats.
The second and greater challenge was realizing that even cats don’t look like cats, or at least not how we expect them to look. A sitting cat, even a relatively short-haired one, is an almost shapeless lump of fluff with two eyes at one end, but if you saw that shape in stone you’d have a hard time working out what it was. Partly this is due to the limitations of recreating a soft, mobile object in a hard material, but a large part of the apparent ‘wrongness’ of a photorealistic approach is down to the fact that we know more about the things we look at than our eyes tell us, and those impressions are often more important to recognising an object when it is taken out of context (i.e. translated into a new material) than the form itself. In the case of a cat, we know that cats are graceful, lithe, and surprisingly strong. We know they are watchful and alert. We know they have four legs, even when they appear to be amalgamated into one formless blob. To make stone look like a cat it is more important to capture these characteristics than to merely copy the literal details. The goal is to leave the viewer with the impression of ‘catishness’, rather than to hold a mirror up to reality. This line of thinking in art is known as Mannerism, famously employed by the likes of Michaelangelo and Raphael.
Maquettes
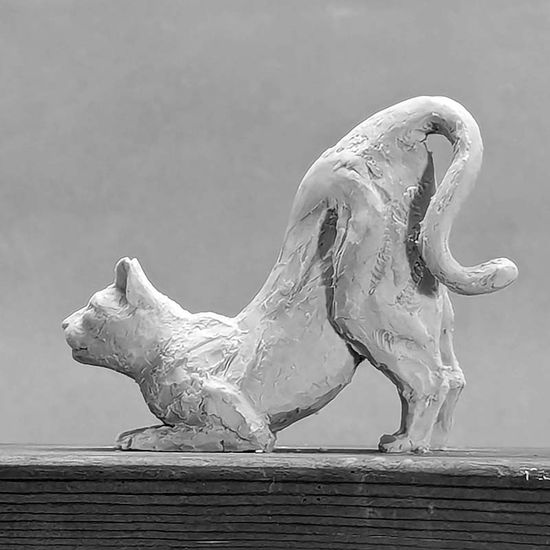
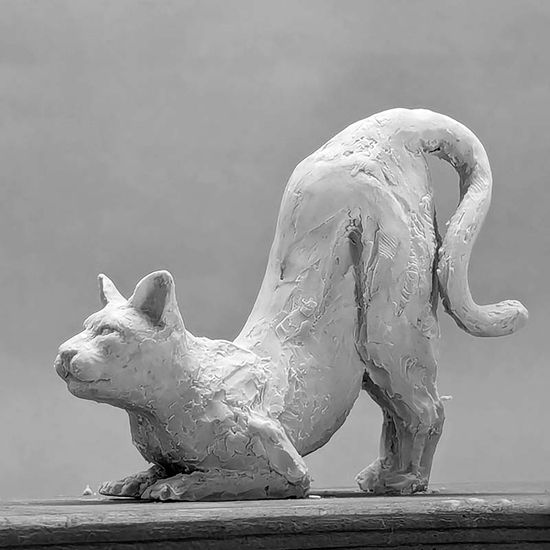
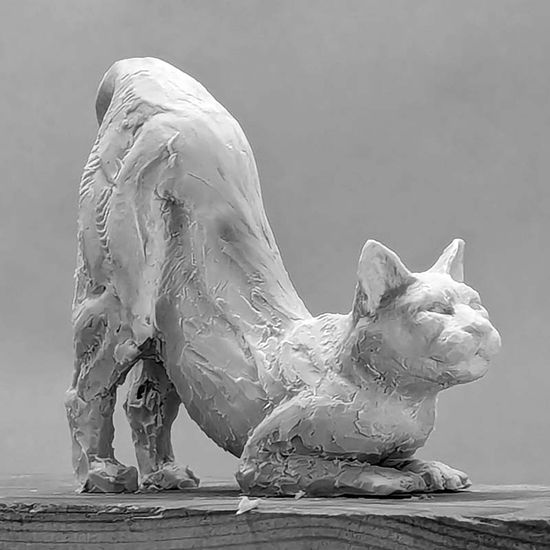
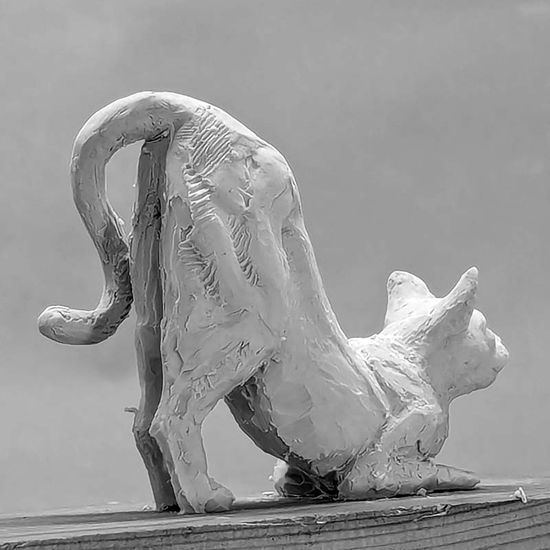
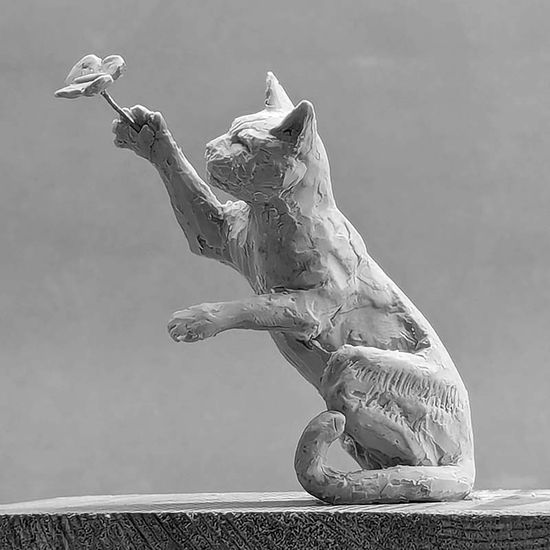
With a grasp on the anatomy I moved to design. I find it quicker to test designs in 3D than on paper: it seems more direct to me than mentally converting a 3D idea to a 2D view just to see whether it works in 3D. The aim of this stage is for me to test and develop ideas and to communicate those ideas to the client as clearly as possible. I settled on three designs that I liked, pictured below. These models are in soft wax, and just a few inches high.
‘Stretch’
‘Butterfly’
‘Nudge’
Full Size Model
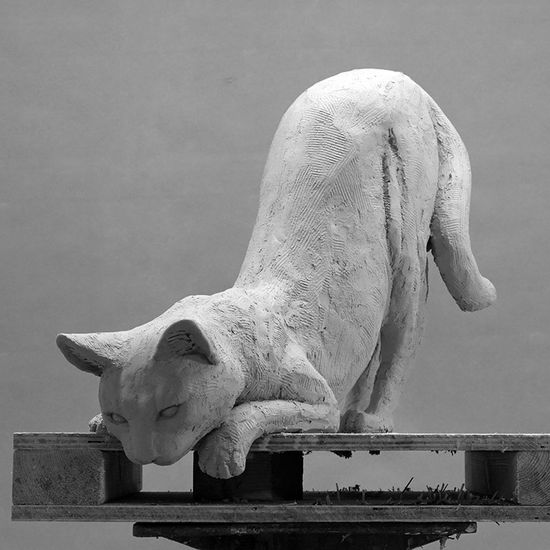
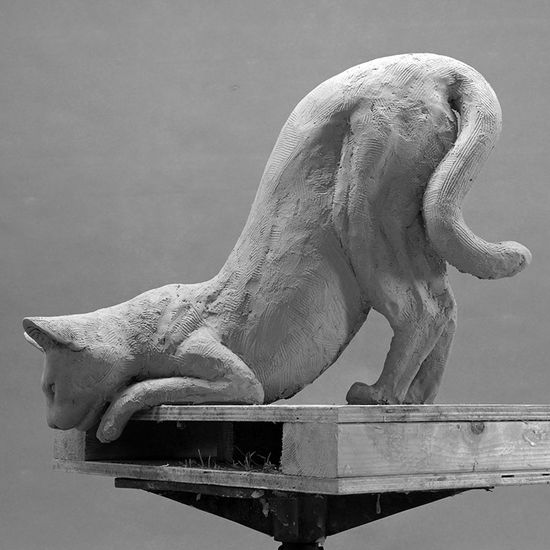
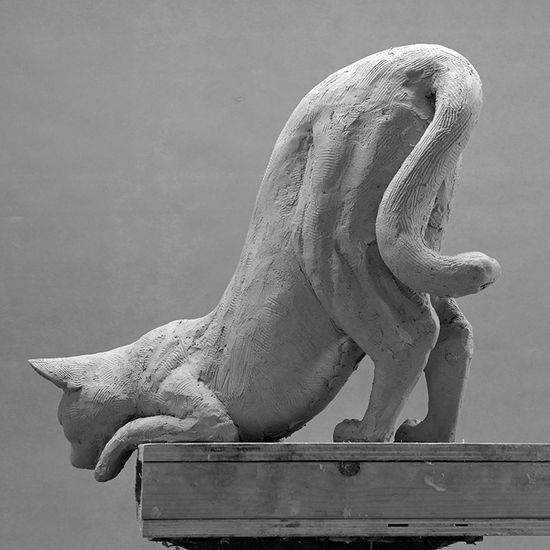
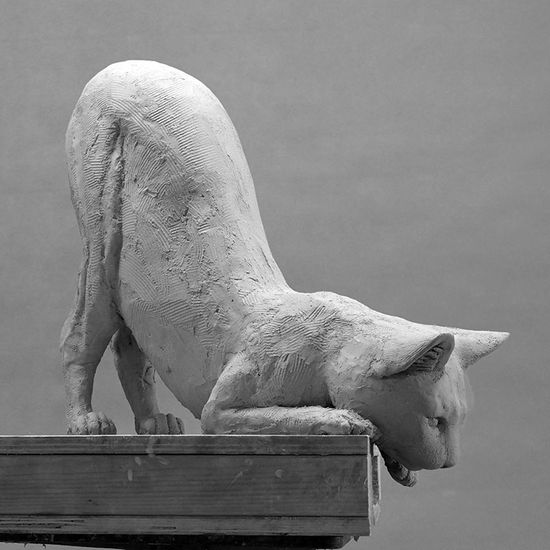
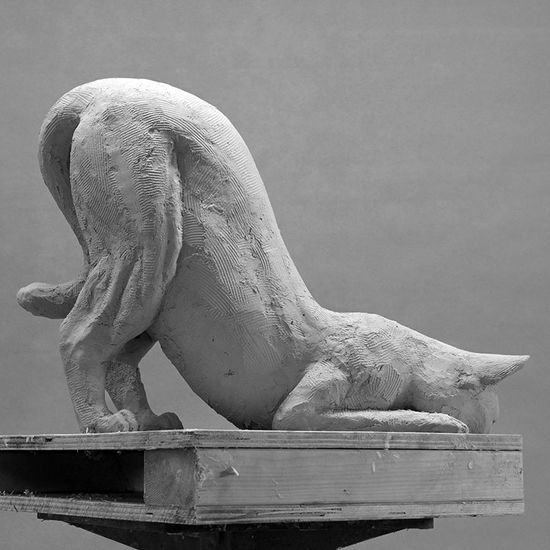
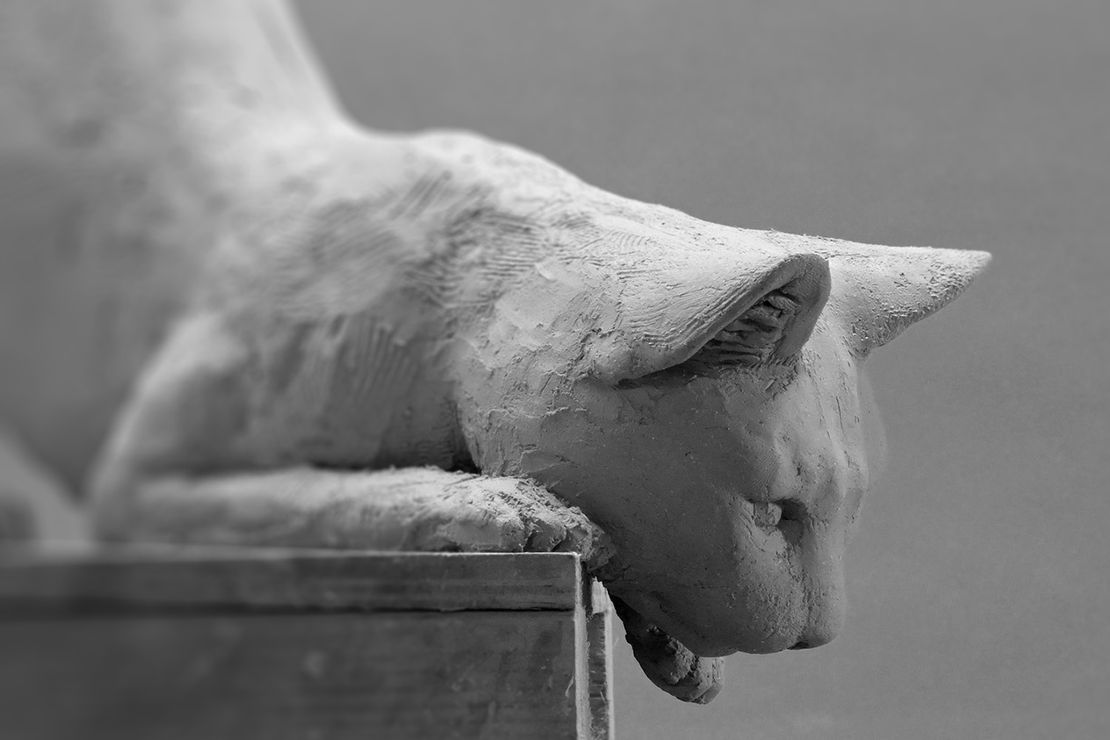
In this case the client liked the ‘Stretch’ pose most, with a couple of modifications, so I moved onto making a full size clay model. This is where I worked out all the fine details - the musculature, the attitude of the head, etc. - and started to think about how I could best represent certain elements (such as the wispy hairs inside the ear) in stone.
This model would become my reference, and in theory sculpting it is the last creative step of the process: with the clay model finalised all I have to do is replicate it in stone, although in practice there is often some further refinement during the carving, particularly when ‘free carving’ without the aid of a pointing machine, as I was here.
